
 |
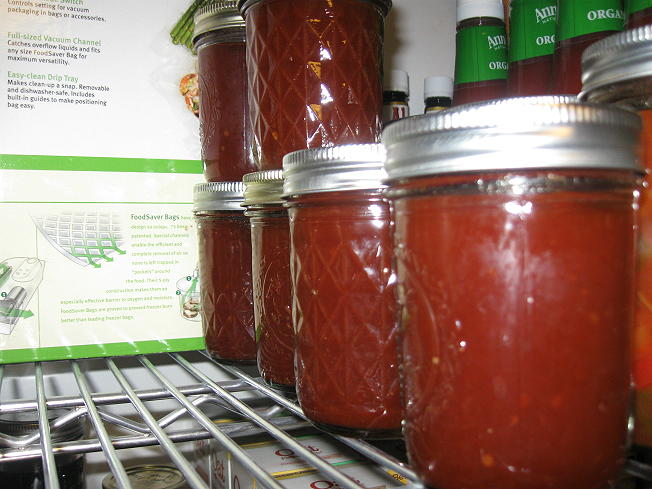
| So I forgot to take a picture of it before it was in the pantry. Sue me ;). |
I found that making ketchup is actually pretty easy to do. The big thing about making it though, just to warn you, is that it takes a LOT of tomatoes and it boils down a LOT so you're going to be surprised at how little a big pan of tomatoes will boil down to.
So, here's how that whole dance goes.
Making Home Made Ketchup in Your Blender (from Pick Your Own.org)
Materials
And here's the spice blend I used since I had it all and it's garlic free...
- 12 lbs of Tomatoes about (I just honestly filled up a 8 quart stock pot with cleaned tomatoes and figured I was good to go there).
- 1 lbs onion (I just cut up a big honking onion I had in the house and called it good)
- The recipe calls for 1/2 lb each red and green sweet peppers, but I only had red, so that's what I used.
- 4.5 cups vinegar (5 percent)
- 4.5 cups sugar (I used Organic) or sugar substitute
- 1/8 cup canning or pickling salt (optional)
- Spice bag or cheesecloth (I didn't use either and just used powdered spices)
Spices Version 1:
- 1 tablespoon dry mustard
- 1/2 tablespoon ground red pepper
- 1/2 teaspoon whole allspice (used about 1/4 tsp ground)
- 1/2 tablespoon whole cloves (used about 1/4 tsp ground)
- 1 stick cinnamon (3 inches long)...I just used about 1 TBS ground
Step 1: Pick Your Tomatoes
When making sauces and such Roma tomatoes really are best because they don't contain as much water and seeds as regular tomatoes, but I used all...well honestly "regular" tomatoes is all I can think to call them that I got from Bell's Nursery for all of my "tomato projects". I just seeded/juiced them over a bowl that had a colander stuck in the top of it so that I was able to strain out the juice from the seeds and left over pulp. Then I strained the catch bowl of juice through a fine mesh strainer into a pot so that I could use all the tomato juice that was left over to can...well tomato juice :). I feel pretty good about that because all I threw out from 50 lbs of tomatoes was literally the seeds and the peels. Now THAT'S minimal waste as far as I'm concerned.
Step 2: Clean and prep your tomatoes.
This step takes the longest, or it did for me. You can QUICKLY peel tomatoes by boiling a big pot of water, taking your tomatoes about 2 or 3 at a time, putting them into said boiling water for 30 to 45 seconds, pulling them out and then placing them immediately into a bowl of ice water. After you do that and the tomatoes are cool enough to handle (which is like RIGHT after you place them in the ice water pretty much) you can just literally slip the peel off the tomatoes.
Me? I have 2 young kids in my house, one of which (my son) who will immediately want to get right into the middle of whatever you are doing, so the idea of doing an assembly line with boiling water, ice water and a catch place for tomatoes? Yeah, that wasn't going to happen. So, I peeled my tomatoes the hard way which took forever.
Once you peel all your tomatoes, cut them into 1/2 if using Roma tomatoes or 1/4 if using regular tomatoes and then literally take your CLEAN fingers and scrap out the tomato seeds and juice into the catch bowl of your choice if you want to use the tomato juice or if you don't just do it over the sink with a colander in it so you can throw out the seeds and other stuff instead of washing it down your drain.
Once you have a nice heaping load of cleaned tomatoes (like I said I just filled up to the very tippy top a 8 quart stock pot) it's time to do things the easy way (bwahahahahahaha!!!!).
3. Puree Your Veggies and Tomatoes

Pour your puree into a large stock pot and bring your mixture to a boil. Turn down the heat to about medium to medium low and boil the mixture for 1 hour.
While that is going on you can bring your vinegar up to a simmer with a cheesecloth bag or spice bag filled up with your spices (if using whole spices) to infuse the vinegar with the flavors and just let it simmer for a good long while. I, honestly, forgot to do this step, so I pulled out my nifty powdered spices and just added them in later.
4. Add the Seasoned Vinegar and Sugar (or your spices and sugar)
Once your mixture has boiled for an hour, now is the time to add the other goodness. Add your seasoned vinegar (if you have it) or your regular vinegar and the powdered spices amounts I mentioned above and your sugar (I'd resist the urge, honestly, to use brown sugar for this for fear it'd burn, but use your own judgement on that).
5. Boil, boil and boil some more!
At this point you can pour the entire mixture into your crock pot, put a splatter shield over the top of said crock pot and cook for 12 hours on low and then check it (or put your lid on loosely...you want steam to escape), or you can do like me and just let the mixture boil while you're prepping more tomatoes for other projects and just check it every 10 or so minutes and give it a good stir. What you are looking for is a mixture that is reduced by about 1/2 and will coat the back of a spoon, but not grainy (separation of liquids and solids). I screwed up with mine a bit because I was trying to process all of my tomato projects at once and the canning water took FOREVER to come up to temp so I ended up with slightly separated ketchup. But, it still tastes good.
6. Can the ketchup!
Once the ketchup is done, put into hot canning jars of your choice (I used 1/2 pint jars so that I wouldn't have to worry about mold or something in the fridge since we don't exactly BLOW through ketchup around here), put your lids and bands on and process in a hot water bath canner for 15 minutes (for higher altitude adjustments please check out the original recipe). Let the jars cool and voila! You now have home made ketchup!
For more information on how to can, please check out The original Recipe as Pickyourown.org is sort of an authority on this stuff.
And now that I finally have this post done, I'd better get started getting some packing up of closet messes going, so enjoy all!
1 comment:
I don't know that you can can this one, but other readers might like this Heinz copy-cat that you can sub in/out ingredients:
6 oz can tomato paste (i use organic)
1/2 cup light agave syrup (or corn syrup if you can use/tolerate)
1/2 cup white vinegar
1/4 cup water
1 tsp salt
1/4 tsp onion powder
1/8 tsp garlic powder- or not :) It's such a small amount I can't image it affects the flavor to leave it out.
combine all in a medium saucepan over medium heat and whisk til smooth. Bring to boil and then reduce heat and simmer for 20 minutes stirring often. Let cool and store covered in the refrigerator.
Love your blog and the new direction it's taking!
Kay
Post a Comment